QA on the neck shape
Just appreciating the view.
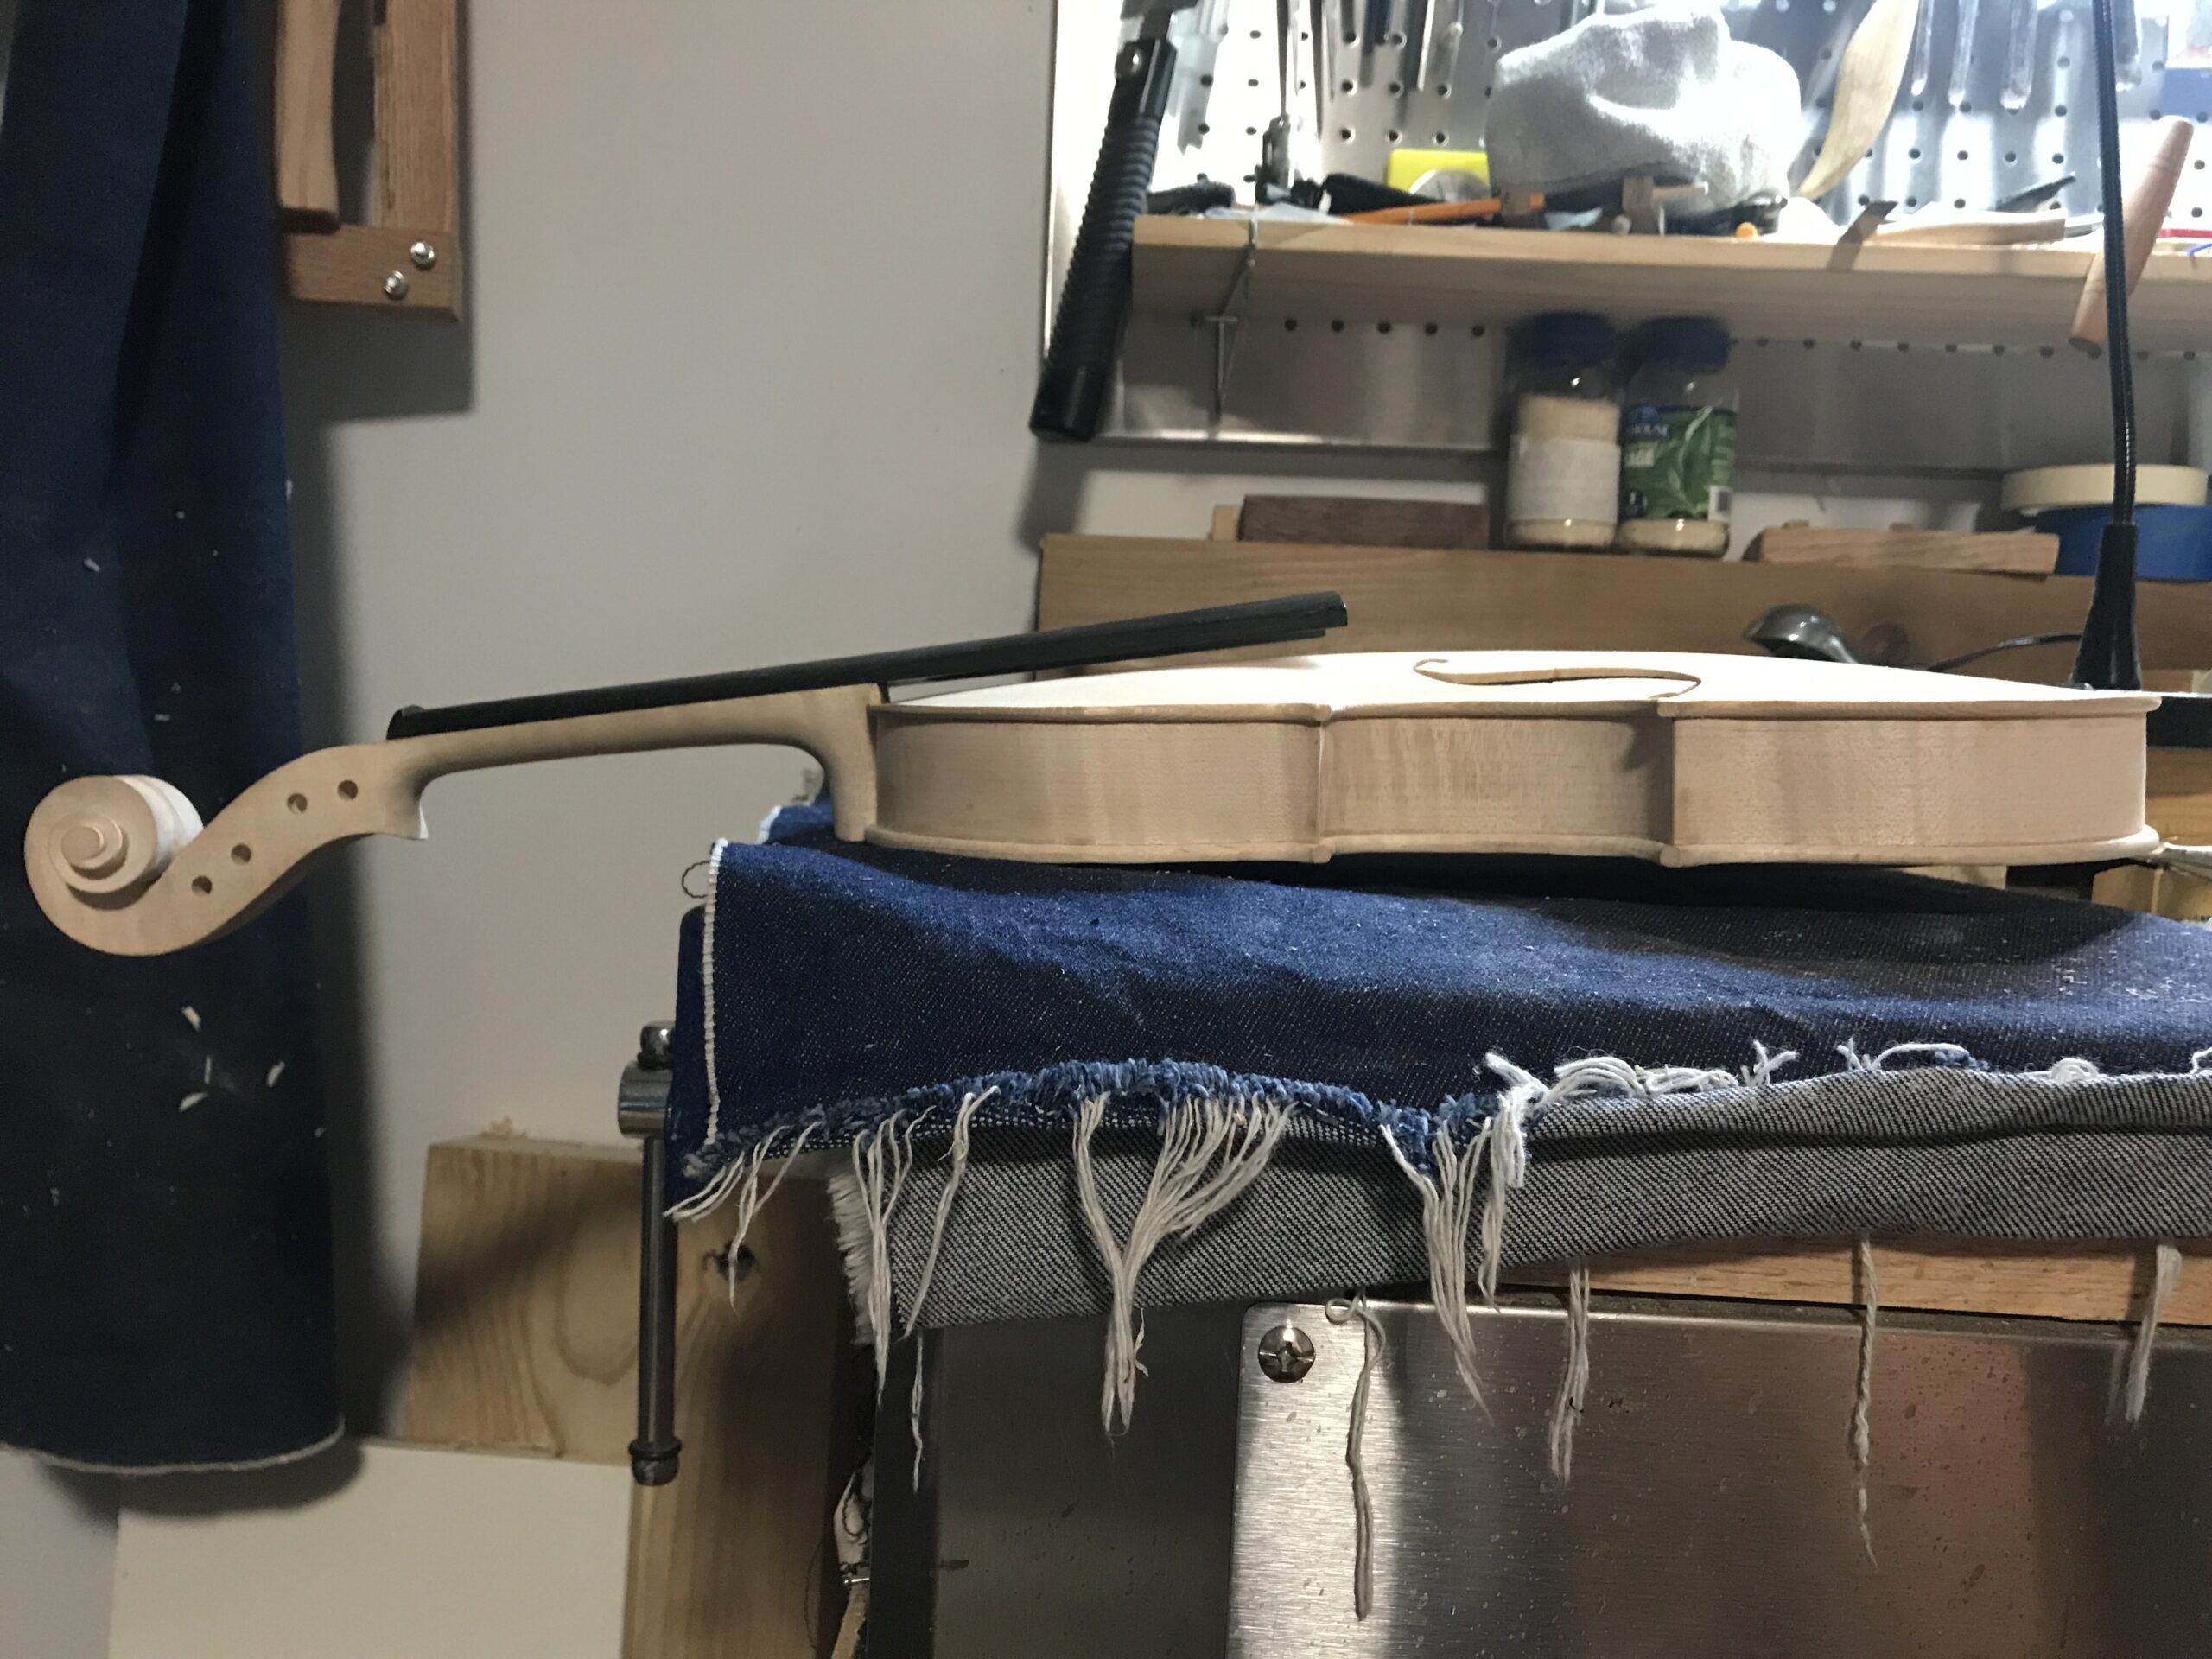
Just appreciating the view.
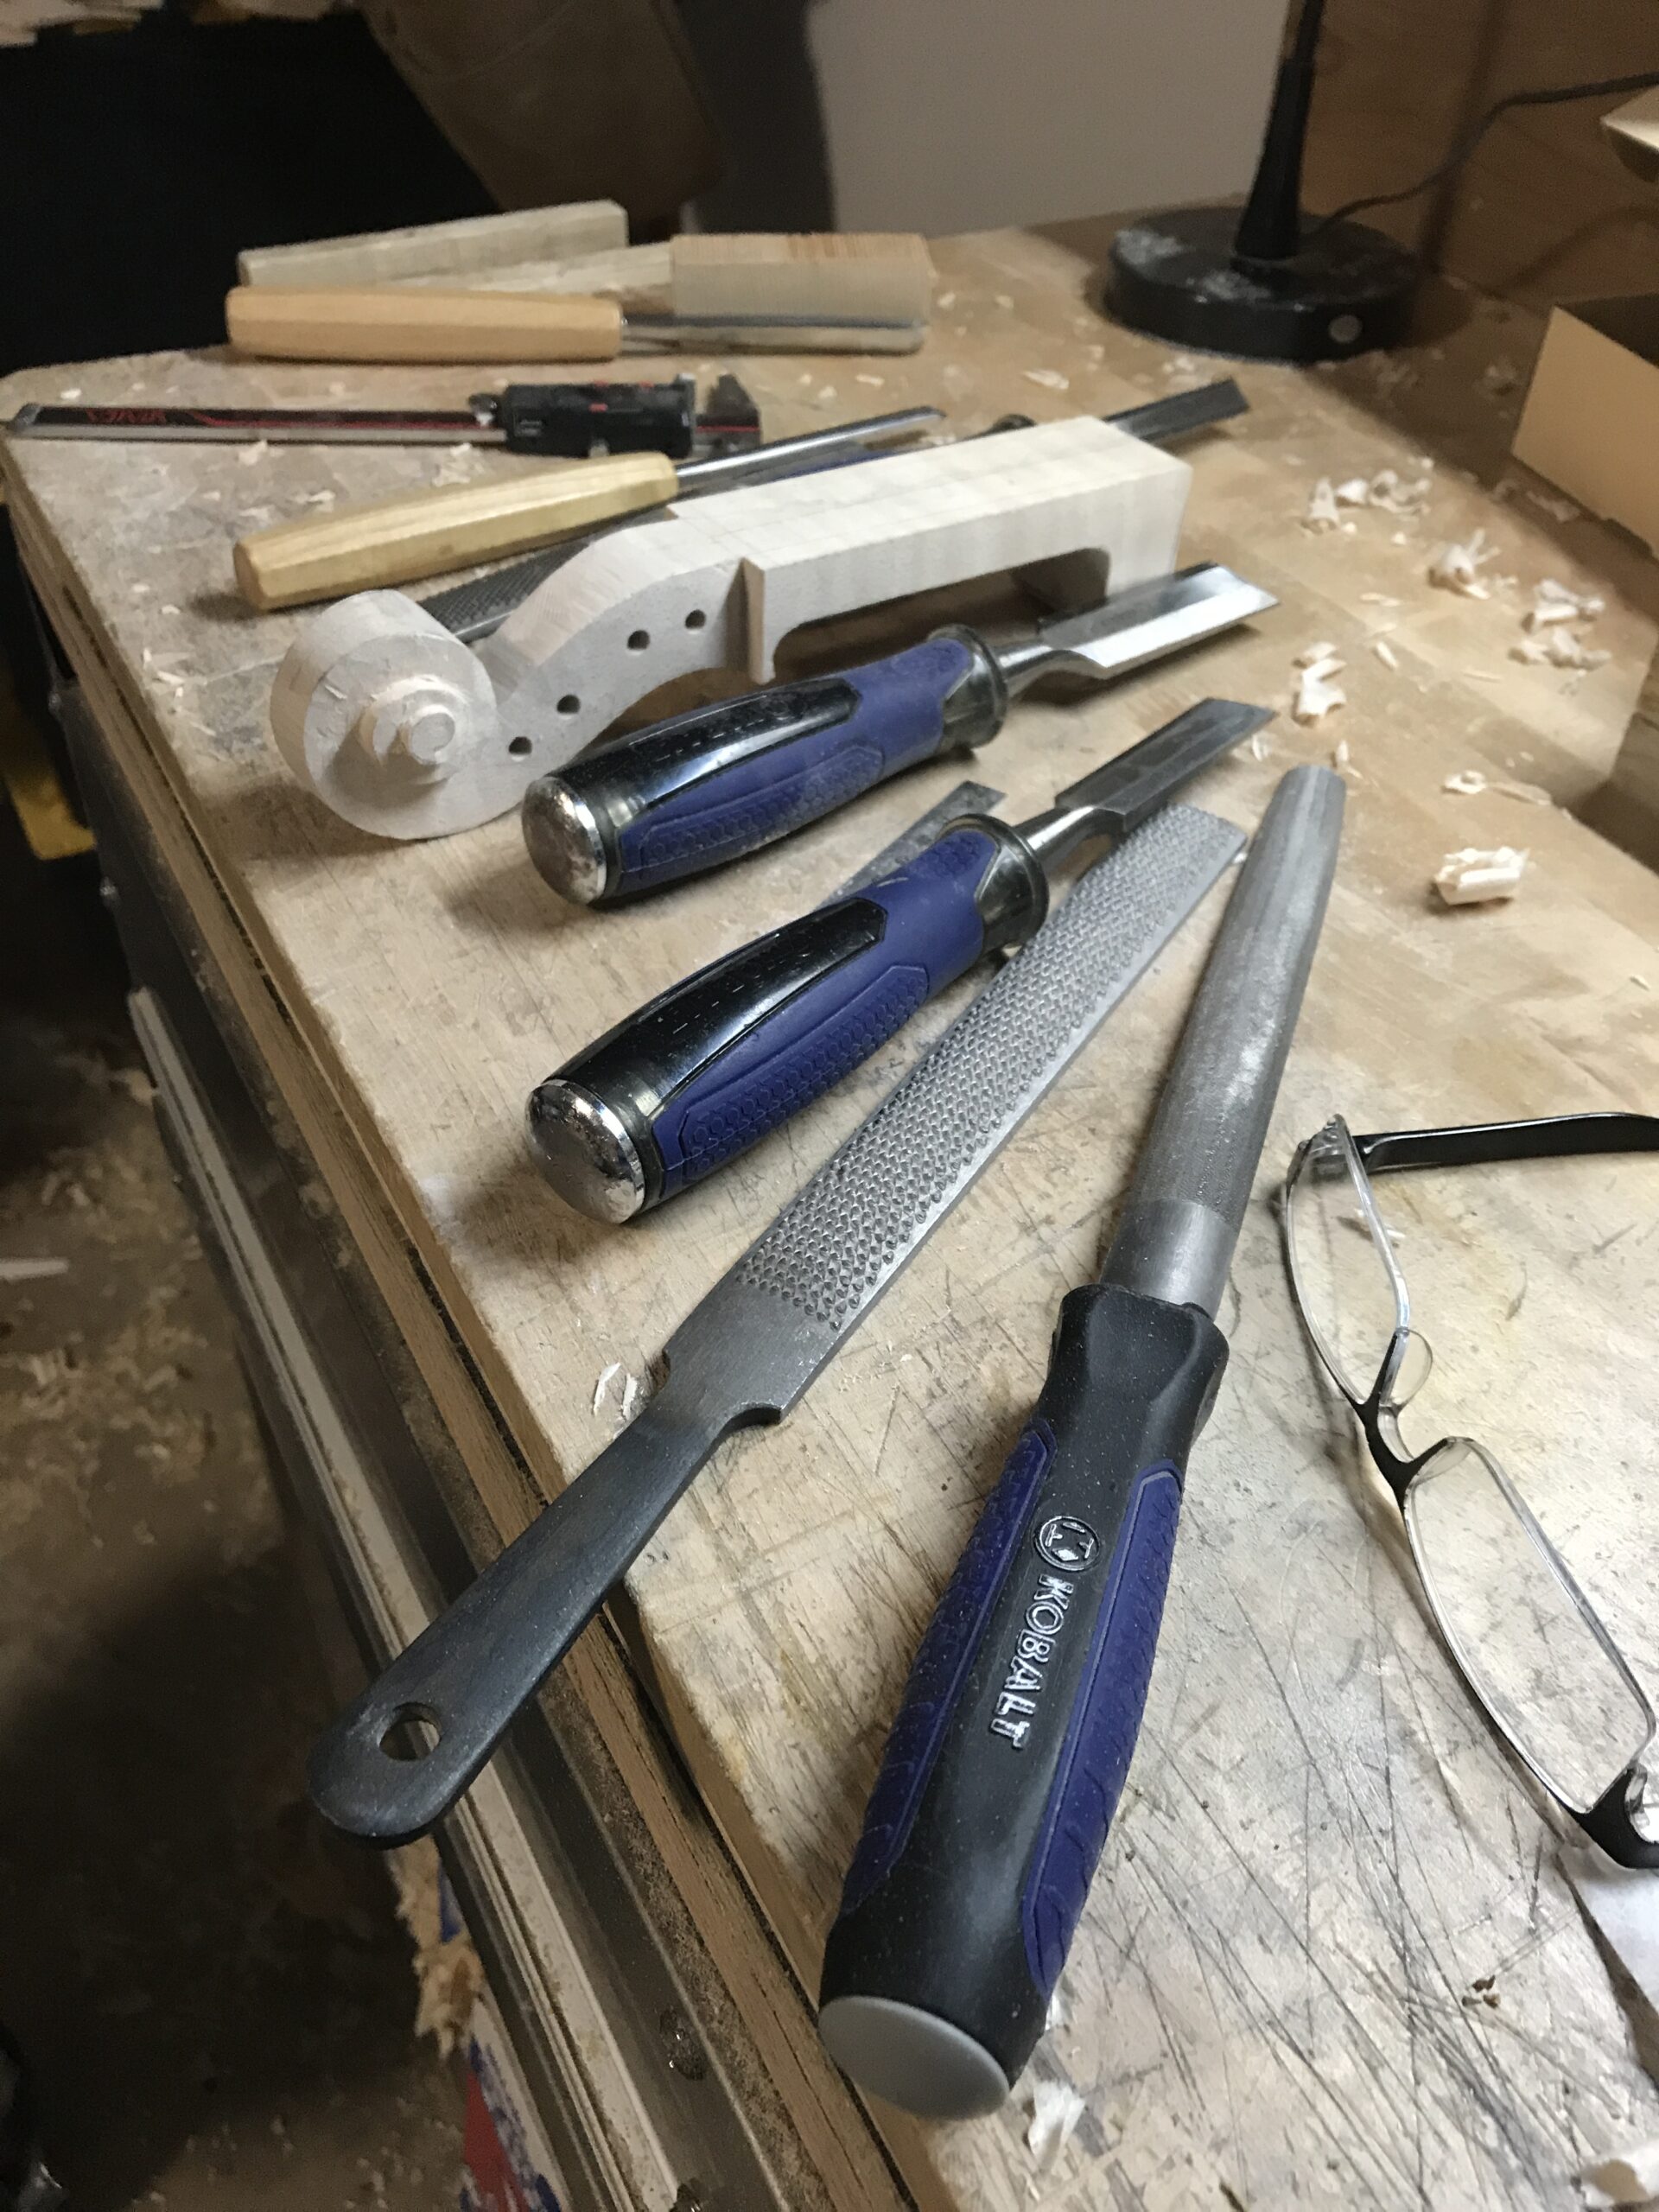
I have my own style of scrolls. I feel like my style is more Brescian and less Cremona. I want…
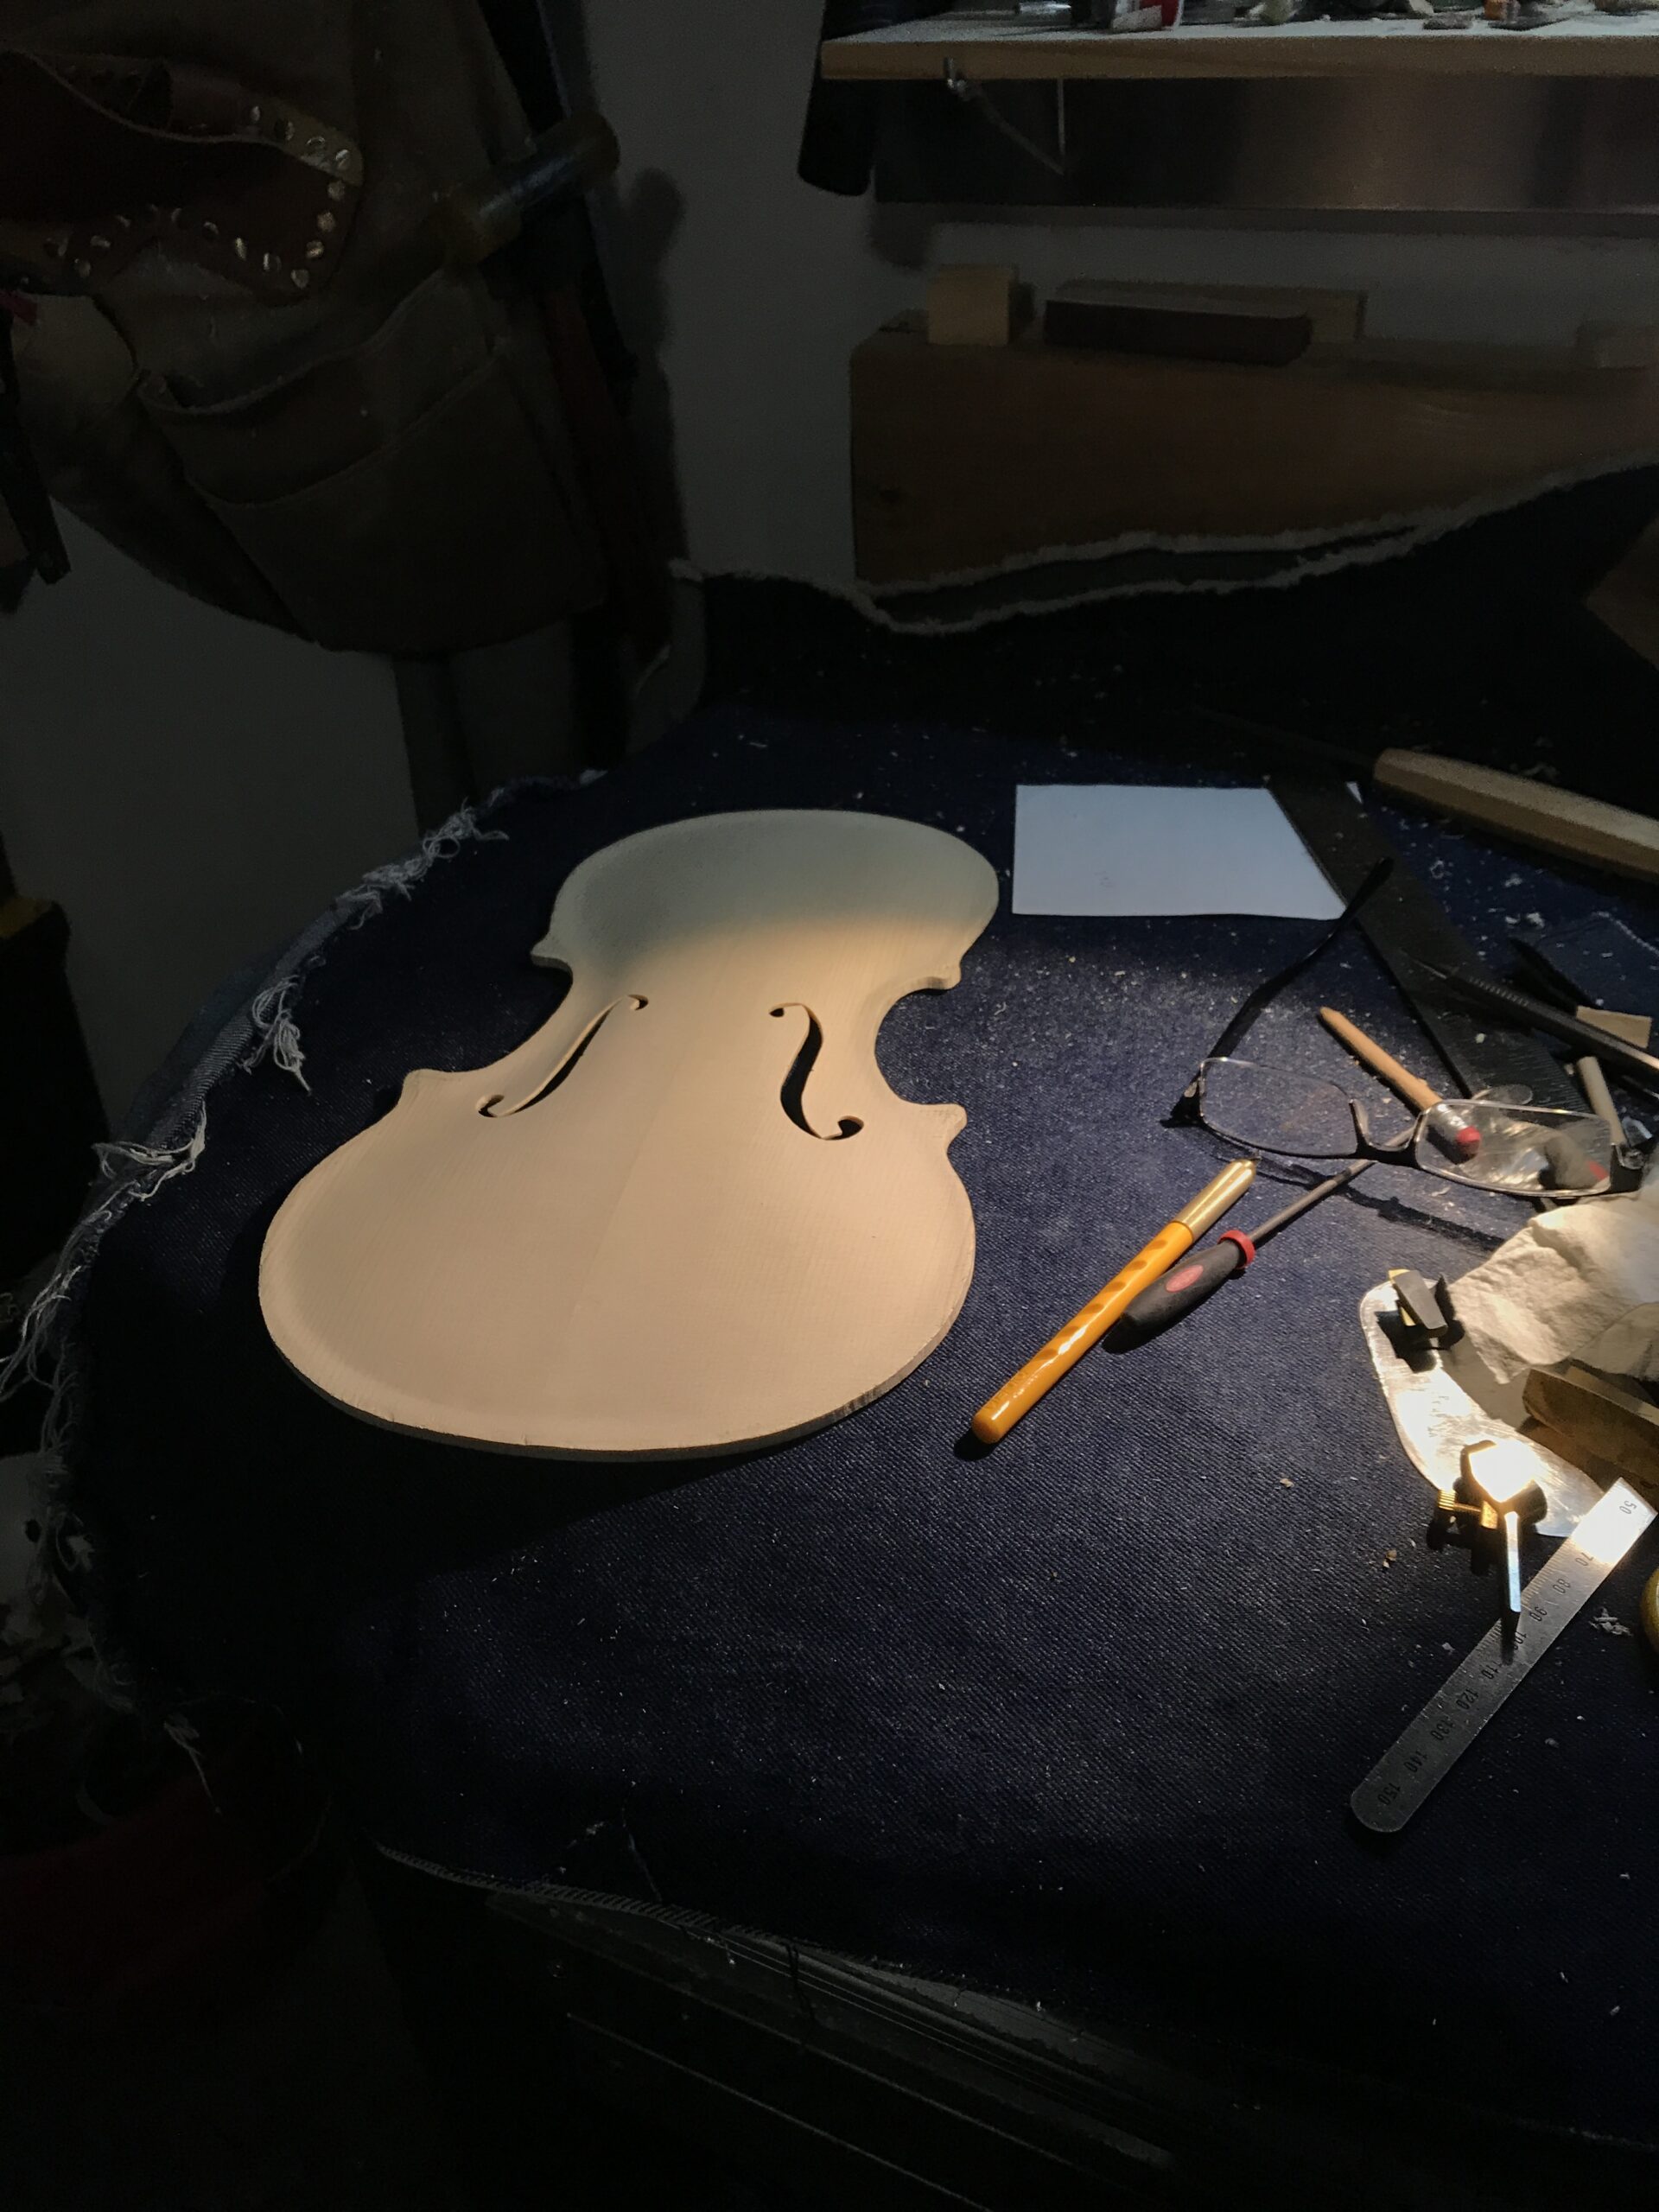
Every time I work on f holes I have to sit back and stare at them. I work on my…
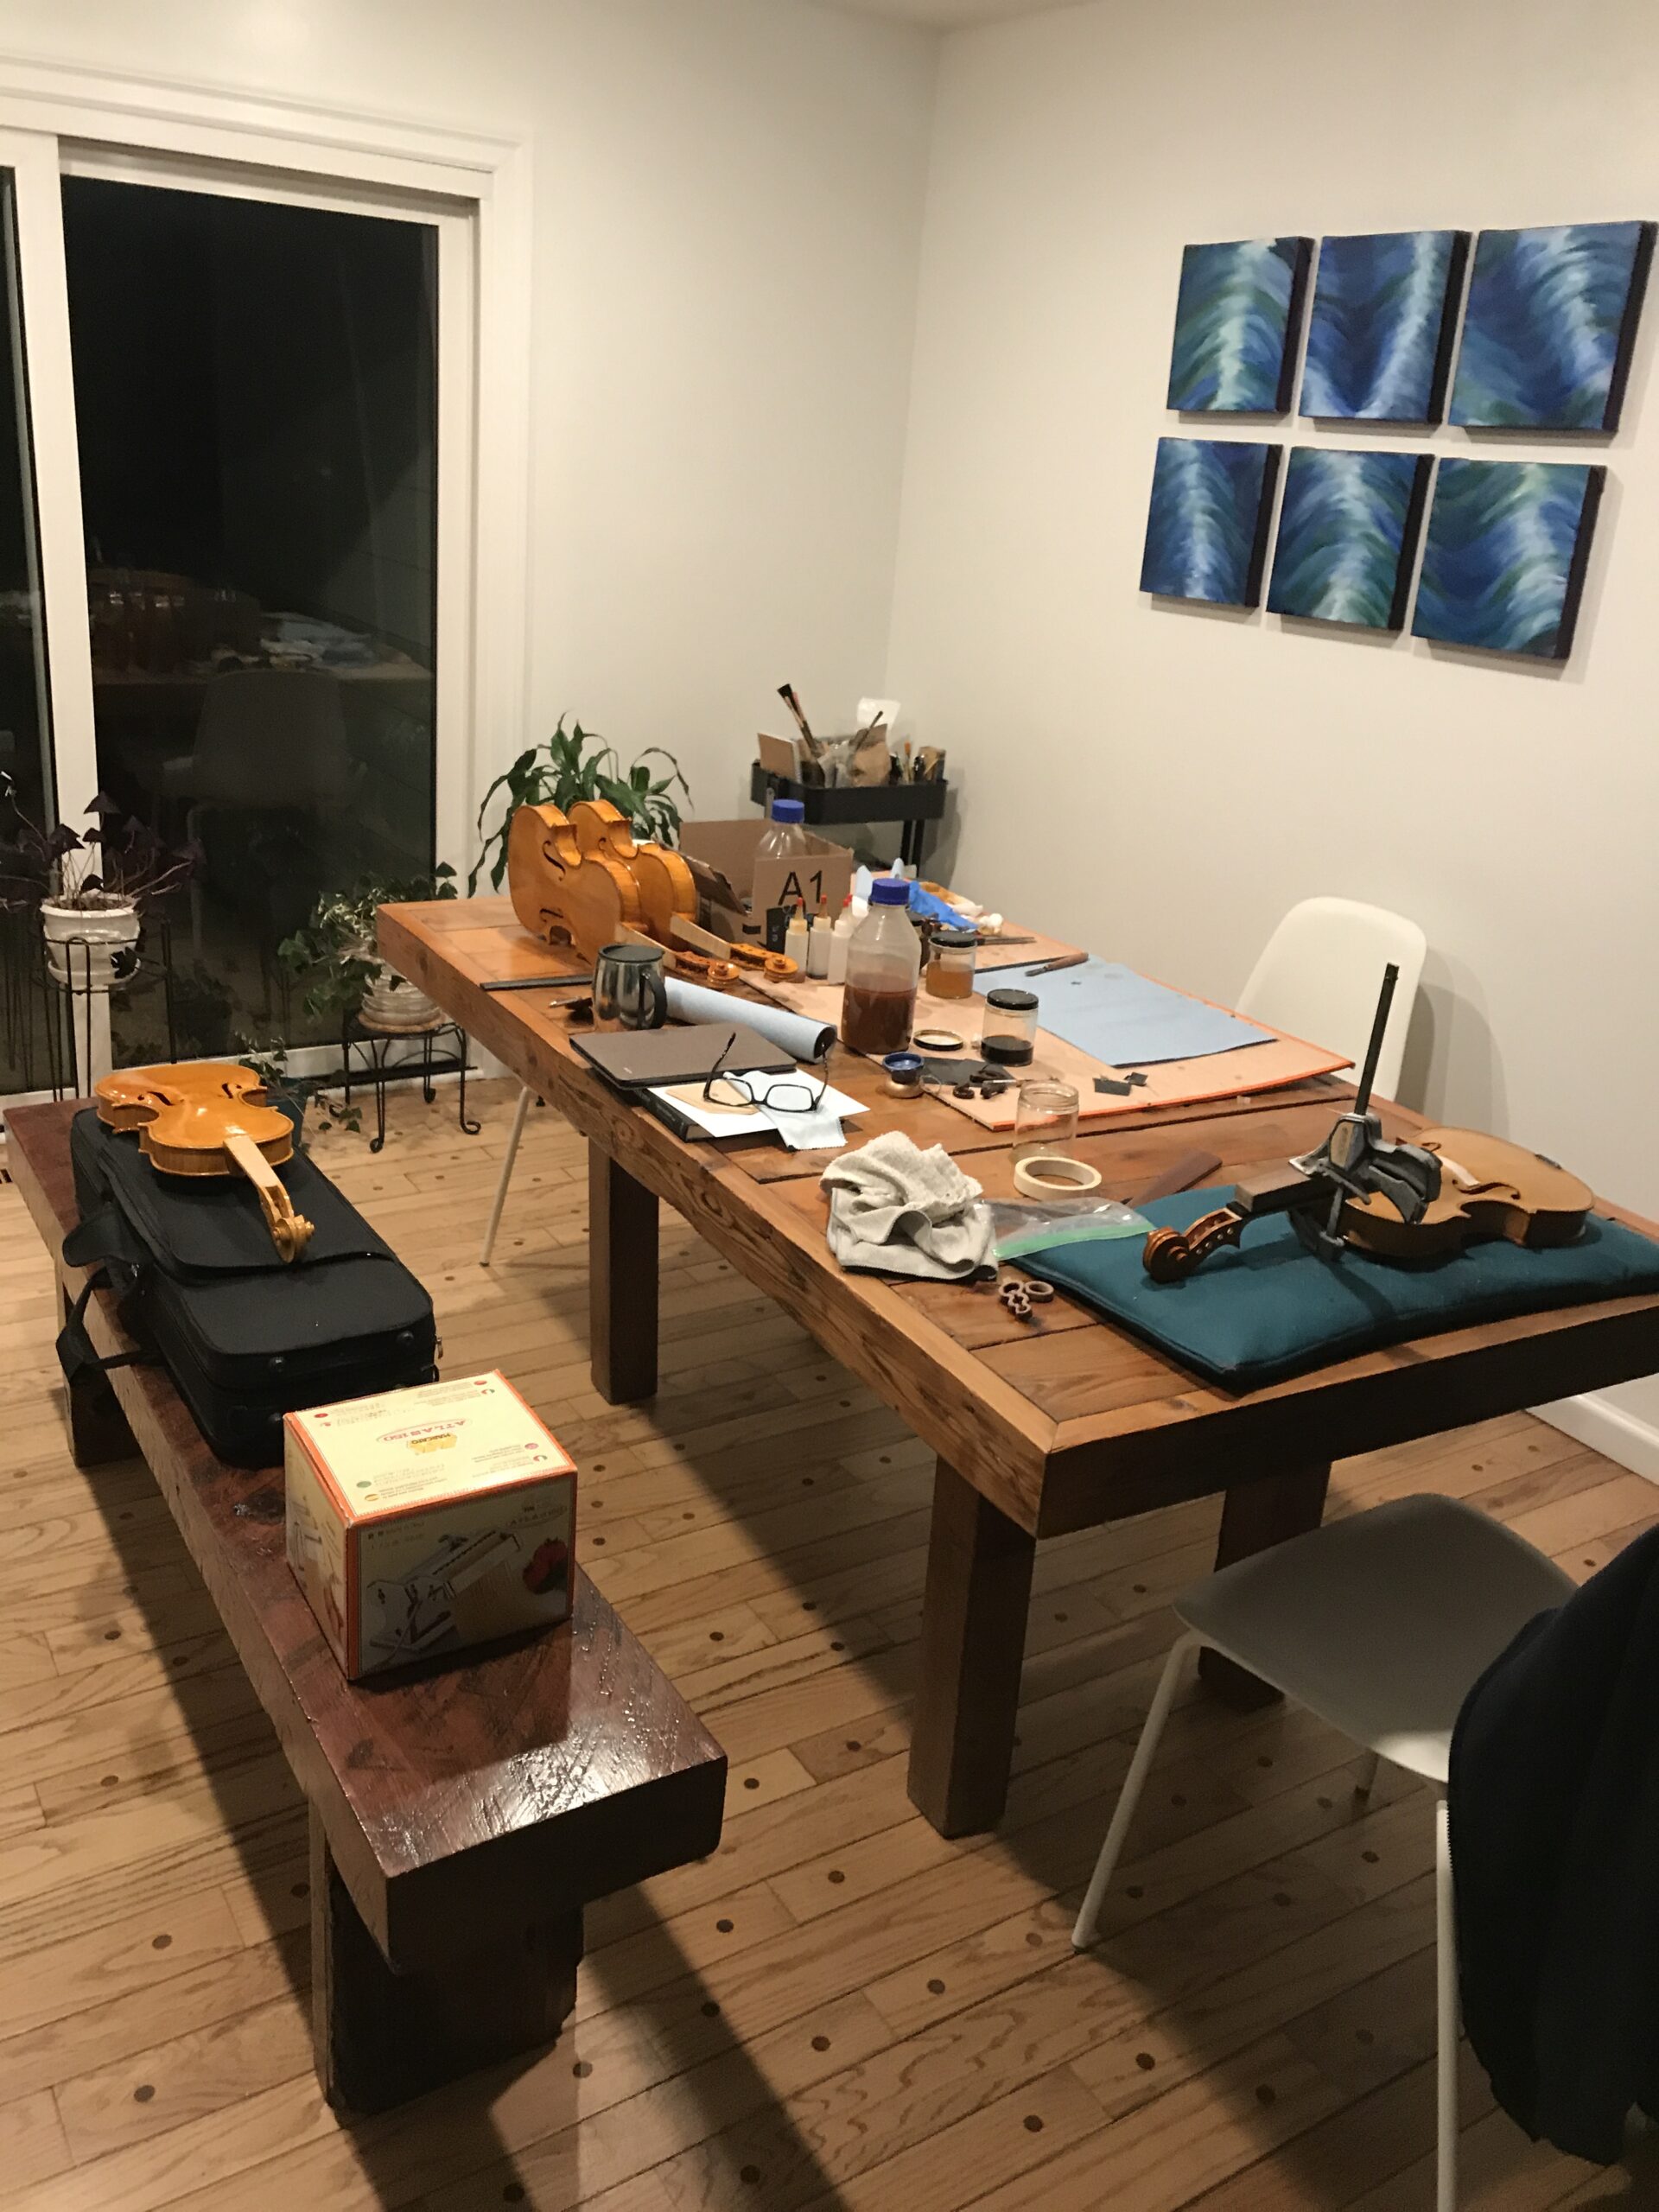
I was showing off some old pics of my violin making journey and this one really stood out. I remember…
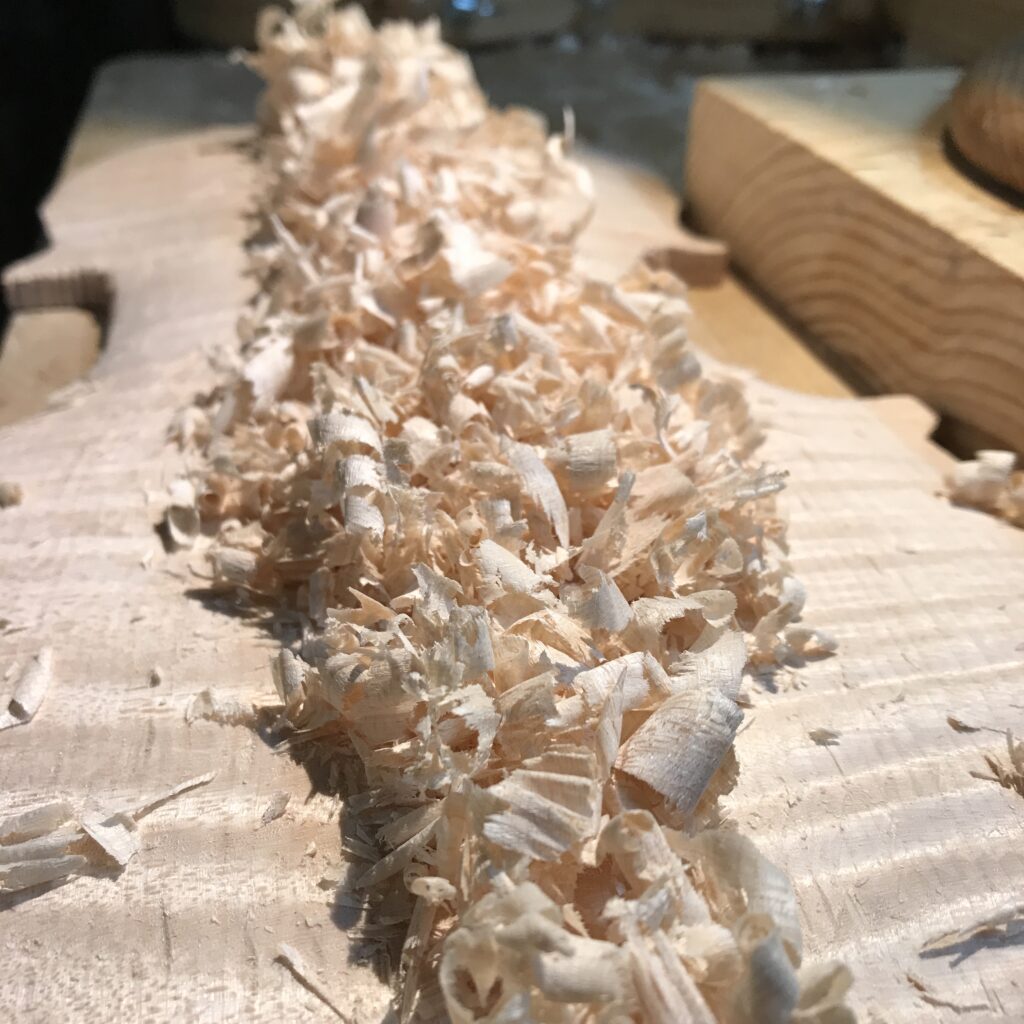
Thousands and thousands of little wood shavings. Every now and then I have to stop to look at the shavings.…
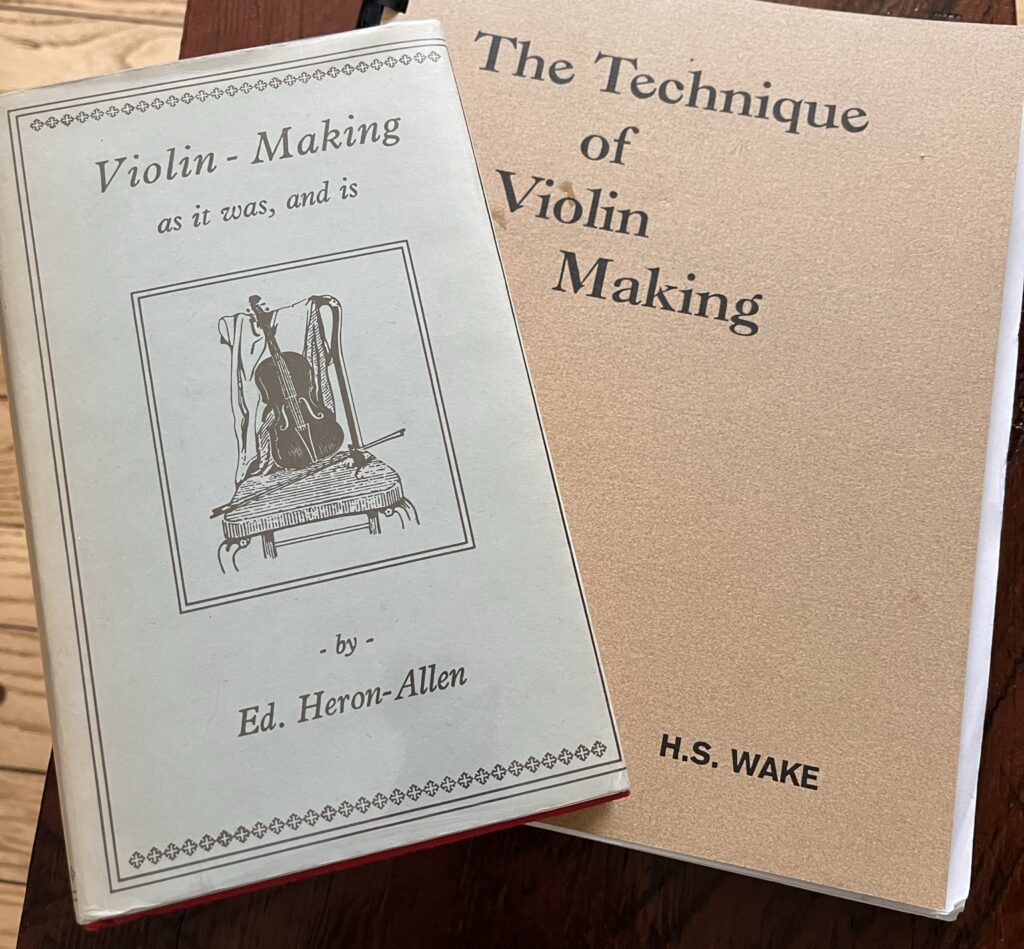
The question “what varnish should I use” and “what is the best to finish a stringed instrument” is impossible to…