Preparing violin ribs
I finished preparing violin ribs by shaving maple wood down to 1.2 mm thick. Learning to thinning wood to a…
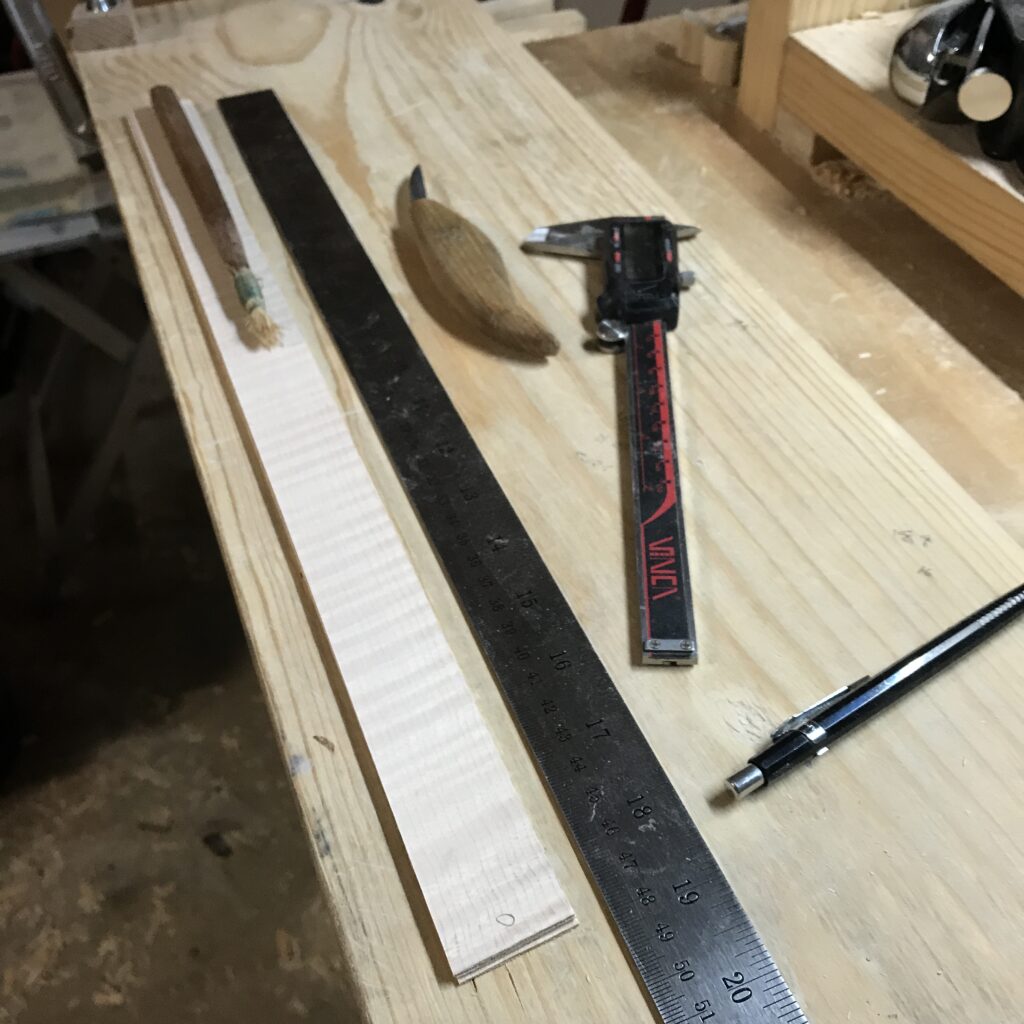
I finished preparing violin ribs by shaving maple wood down to 1.2 mm thick. Learning to thinning wood to a…
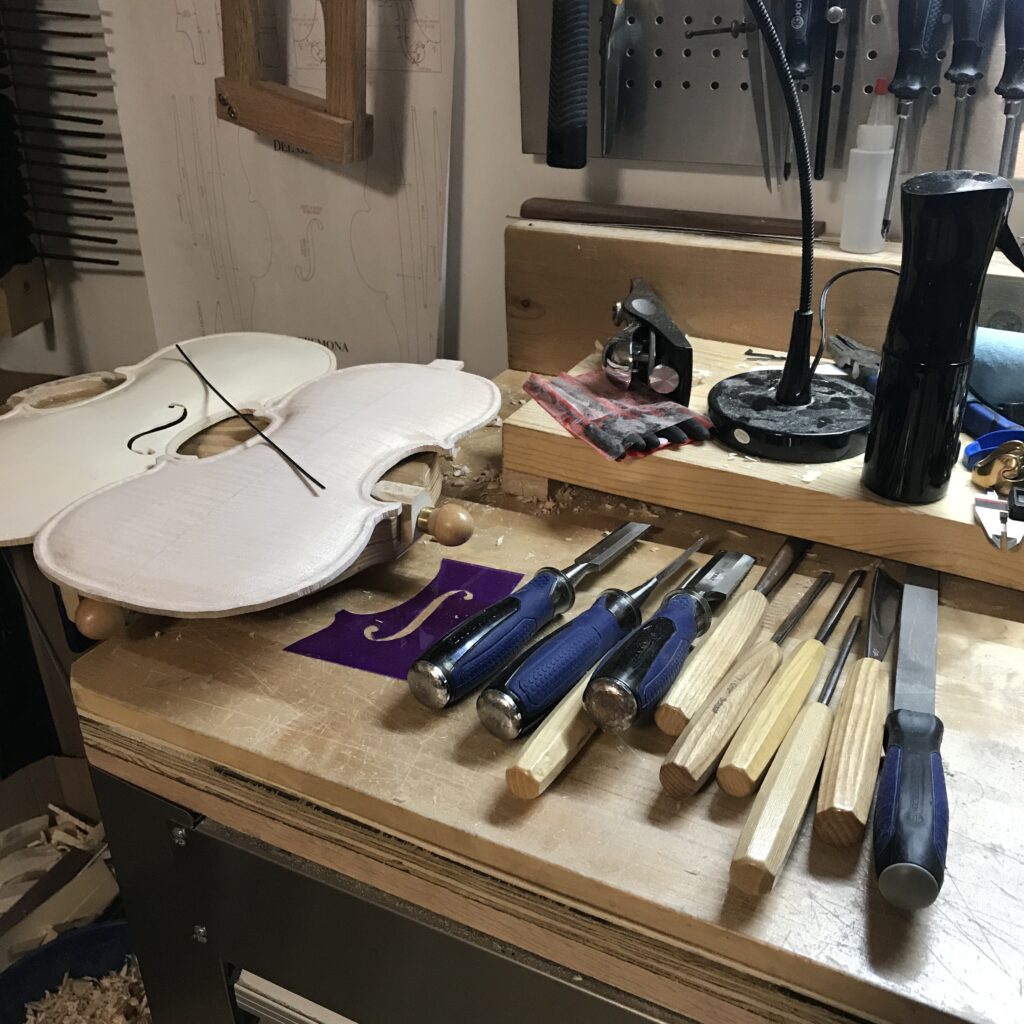
Finished sharpening my chisels and gouges. Prepping for some purfling channel work. One of the most used tool(s) on a…
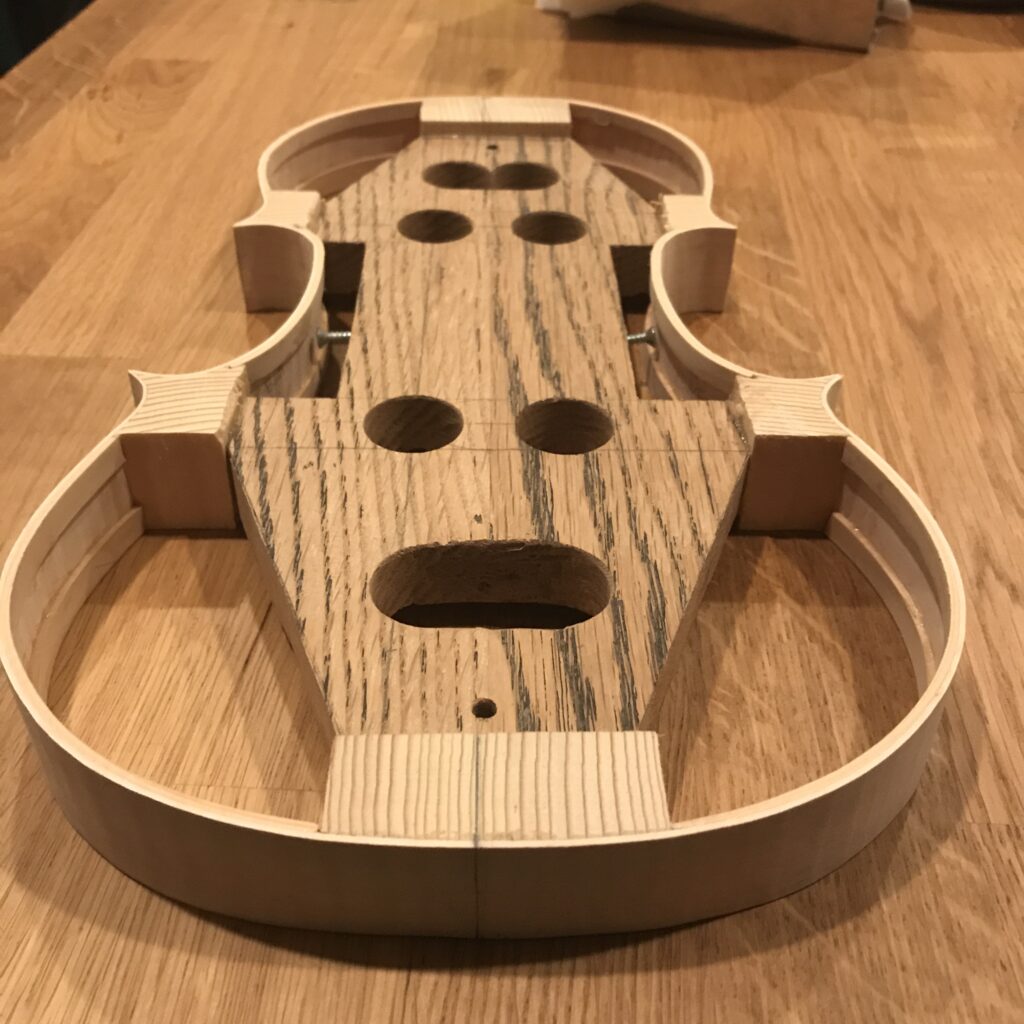
The skeleton mold is a steady and true mold for me. I got the inspiration from Andrew Carruthers. After reading…
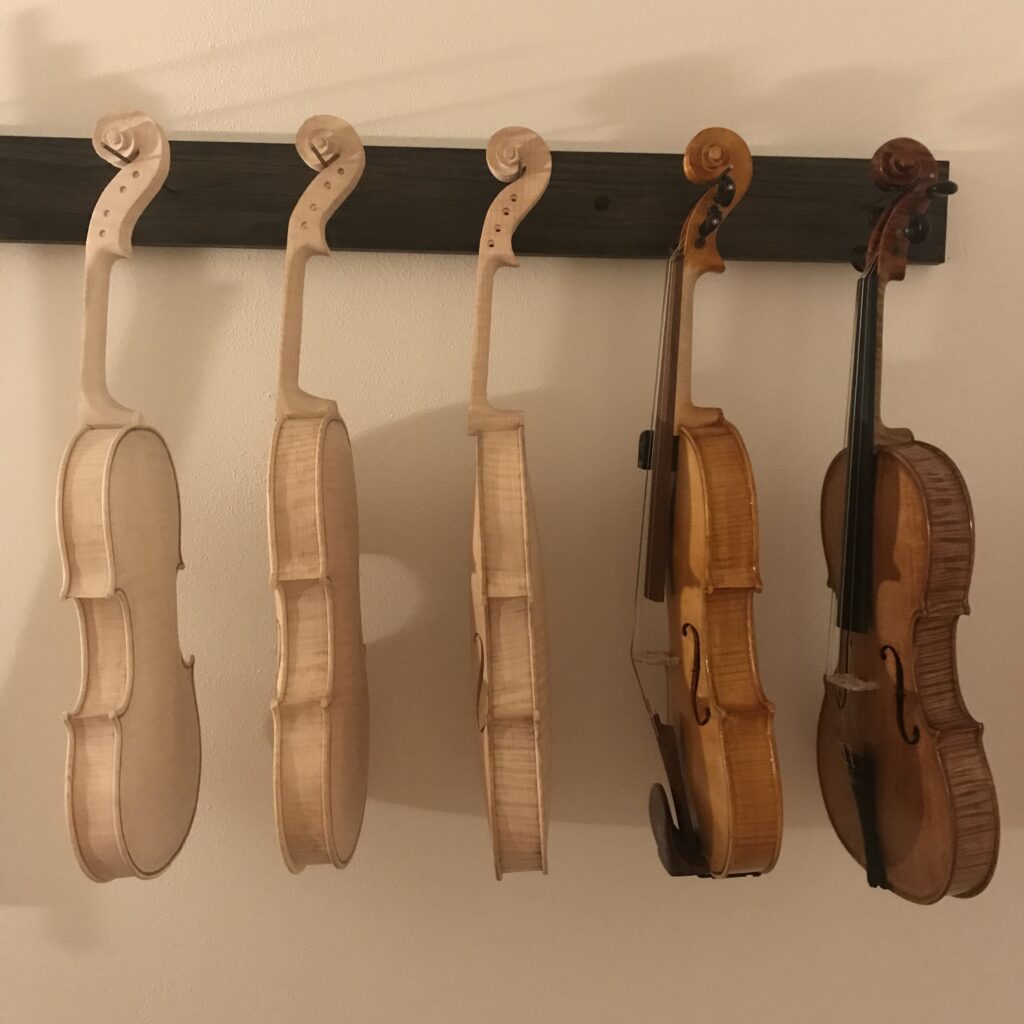
A few violins in the white are ready for varnishing. Things are getting serious. I love the look of future…
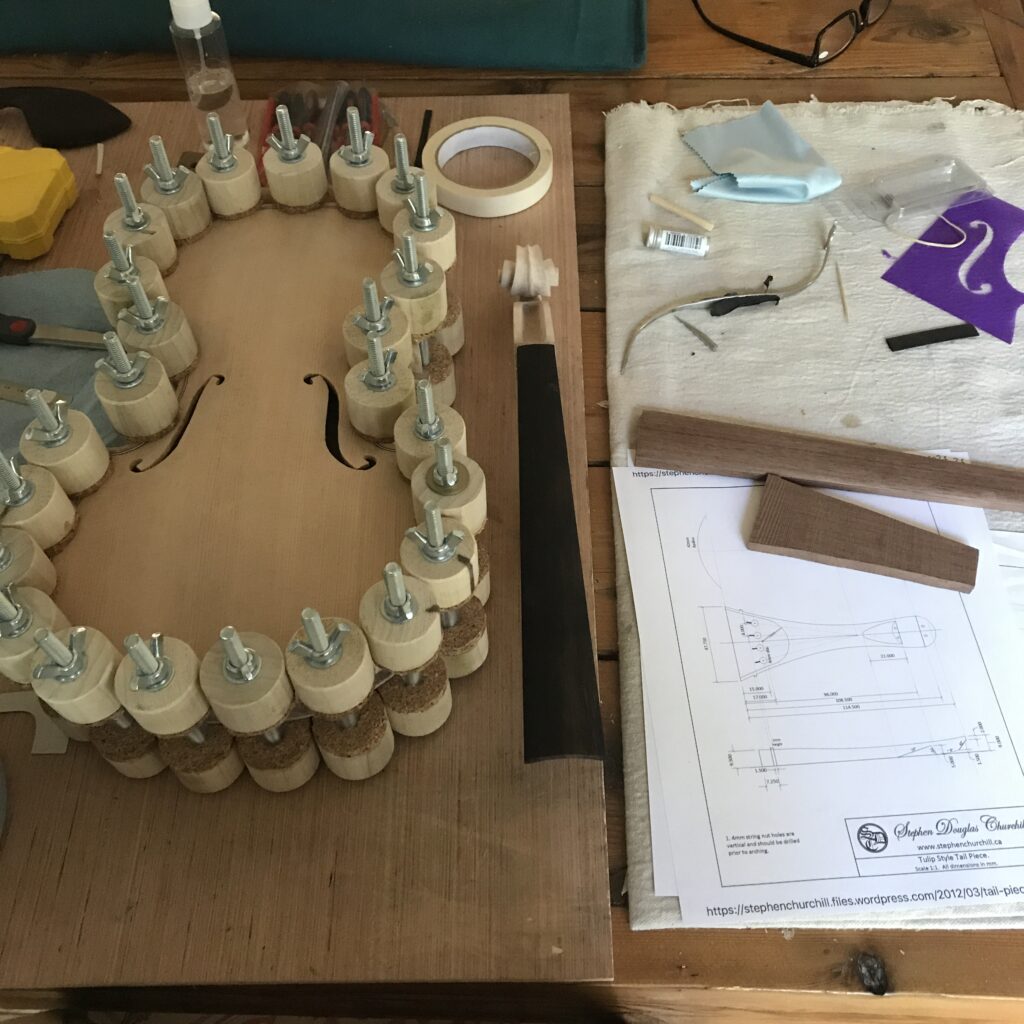
Used my new clamps on a new violin. Worked great. Look forward to using these again and again.
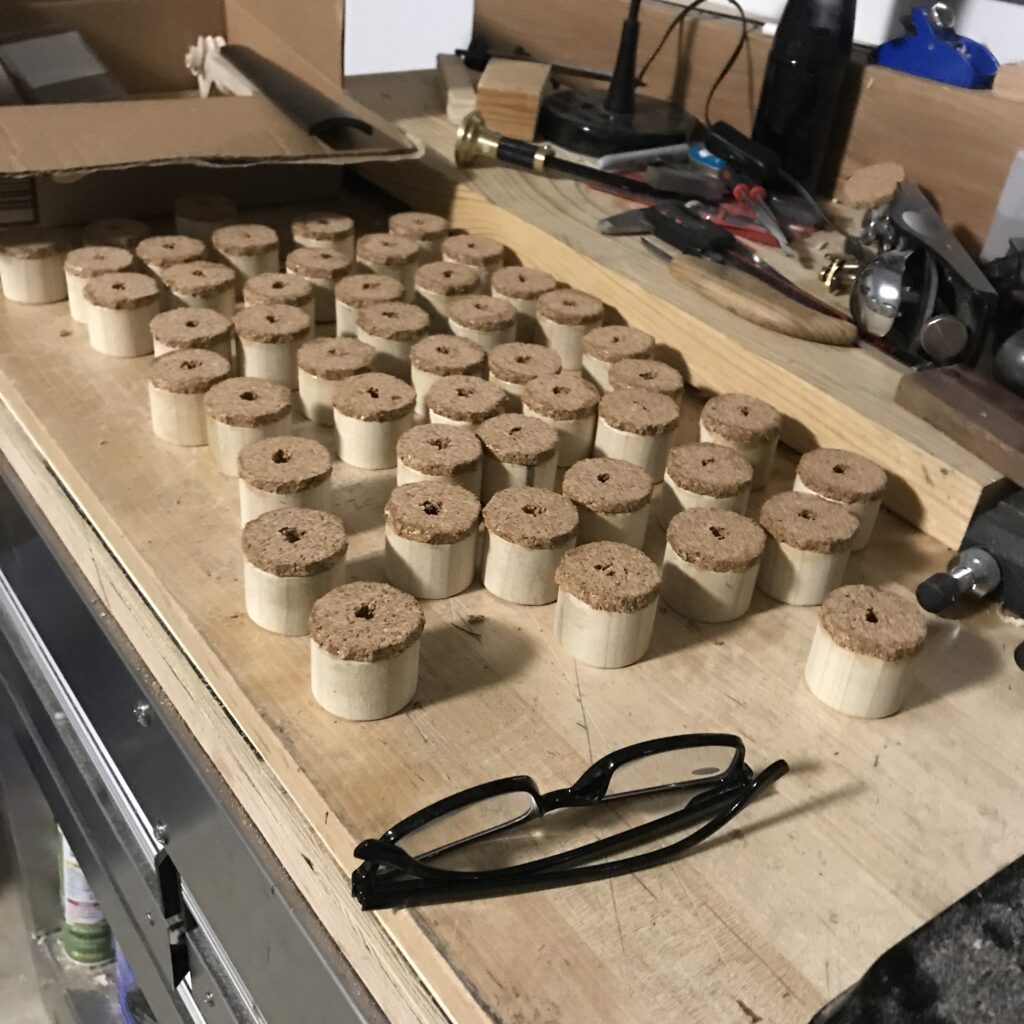
Another hand made object. This is right after gluing the cork to the wood blocks. Just need some cleanup and…